Today was a challenge. I downloaded the BETA of MINIM so that I could try the new UGEN api. It is interesting but not fully featured yet. I saw a Granulator in there and I got excited. I wasn’t able to make any good sounds and I ran into some troubles with controlP5 and MINIM where they both had Controller classes and Events.
There is a crazy solution where the name of a controlP5 object can be declared as a global and the slider will update the global. I have to look further into why this works but it certainly minimizes the amount of code I have to write to make a basic GUI.
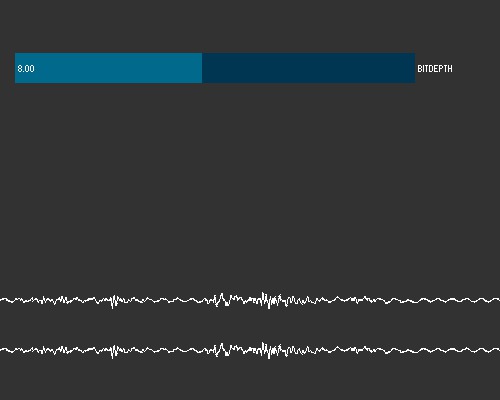
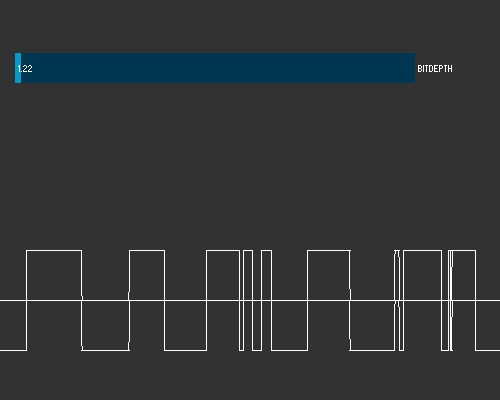
This example does a simple mapping of the BitCrush UGEN with a slider. It also has a display for the audio output. I would love to have access to the audio input too. More work to be done. I am learning a lot here.
import ddf.minim.AudioOutput;
import ddf.minim.Minim;
import ddf.minim.ugens.*;
import controlP5.*;

ControlP5 controlP5;
Slider glmin, glmax, gfmin, gfmax, gsmin, gsmax;
public float grainLengthMin, grainLengthMax, grainFadeMin, grainFadeMax, grainSpaceMin, grainSpaceMax;

Minim minim;
LiveInput in;
AudioOutput out;
Constant controls[] = new Constant[6];
GranulateRandom fx1 = new GranulateRandom();

void setup(){
  size(500, 400);
  minim = new Minim(this);
  out = minim.getLineOut();
  in = new LiveInput( minim.getInputStream(out.getFormat().getChannels(), out.bufferSize(), out.sampleRate(), out.getFormat().getSampleSizeInBits()) );

  controlP5 = new ControlP5(this);
  glmin = controlP5.addSlider("grainLengthMin",1,100,  15,height/3-80 , width-100,30);
  glmax = controlP5.addSlider("grainLengthMax",101,500,  15,height/3-40,  width-100,30);
  gsmin = controlP5.addSlider("grainSpaceMin", 0,10,  15,height/3  ,   width-100,30);
  gsmax = controlP5.addSlider("grainSpaceMax", 11,500,  15,height/3+40,  width-100,30);
  gfmin = controlP5.addSlider("grainFadeMin",  1,10,  15,height/3+80,  width-100,30);
  gfmax = controlP5.addSlider("grainFadeMax",  11,50,  15,height/3+120, width-100,30);

  glmin.setValue(4);
  glmax.setValue(400);
  gsmin.setValue(10);
  gsmax.setValue(40);
  gfmin.setValue(3);
  gfmax.setValue(40);


 for (int i = 0; i < controls.length; i++)
    controls[i] = new Constant();

 controls[0].patch (fx1.grainLenMin);
 controls[1].patch (fx1.grainLenMax);
 controls[2].patch (fx1.fadeLenMin);
 controls[3].patch (fx1.fadeLenMax);
 controls[4].patch (fx1.spaceLenMin);
 controls[5].patch (fx1.spaceLenMax);

 controls[0].setConstant (grainLengthMin);
 controls[1].setConstant (grainLengthMax);
 controls[2].setConstant (grainFadeMin);
 controls[3].setConstant (grainFadeMax);
 controls[4].setConstant (grainSpaceMin);
 controls[5].setConstant (grainSpaceMax);

 in.patch(fx1).patch(out);
}

void draw(){
  background(50);
  stroke( 255 );

 controls[0].setConstant (grainLengthMin);
 controls[1].setConstant (grainLengthMax);
 controls[2].setConstant (grainFadeMin);
 controls[3].setConstant (grainFadeMax);
 controls[4].setConstant (grainSpaceMin);
 controls[5].setConstant (grainSpaceMax);


  for( int i = 0; i < out.bufferSize() - 1; i++ )
  {
    float x1  =  map( i, 0, out.bufferSize(), 0, width );
    float x2  =  map( i+1, 0, out.bufferSize(), 0, width );
    line( x1, height*.75 + out.left.get(i)*50, x2, height*.75 + out.left.get(i+1)*50);
    line( x1, height*.75 + 50 + out.right.get(i)*50, x2, height*.75 + 50 + out.right.get(i+1)*50);
  }
  controlP5.draw();
}

void stop()
{
  in.close();
  out.close();
  minim.stop();
  super.stop();
}
View this code on GitHub
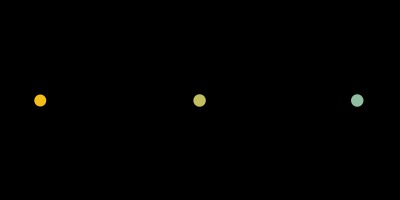
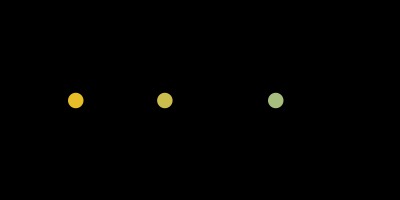
I have been messing with Minim. This is a simple synthesis sketch that uses a few triangle waves represented by coloured circles and modifies colour by monitoring the pan (which is randomized a bit).
The really fun features seem to be in the BETA so I will play with that a bit tomorrow. I am anxious to try out the granulator and the bitcrusher.
import ddf.minim.*;
import ddf.minim.signals.*;
import ddf.minim.effects.*;
Minim minim;
AudioOutput out;
TriangleWave s1;
TriangleWave s2;
TriangleWave s3;
BandPass bpf;
float circlesize = 50;
void setup()
{
size(400, 200);
frameRate(24);
minim = new Minim(this);
out = minim.getLineOut(Minim.STEREO);
bpf = new BandPass (500, 100, out.sampleRate() ) ;
s1 = new TriangleWave(440, 0, out.sampleRate());
s1.portamento(2000);
out.addSignal(s1);
s2 = new TriangleWave(450, 0, out.sampleRate());
s2.portamento(2000);
out.addSignal(s2);
s3 = new TriangleWave(490, 0, out.sampleRate());
s3.portamento(2000);
out.addSignal(s3);
out.addEffect(bpf);
ellipseMode(CENTER);
smooth();
noStroke();
s1.setPan(0);
s2.setPan(1.0);
s3.setPan(-1.0);
}
void draw()
{
background(0);
fill ( lerpColor (color(255,190,10), color(130,190,180), (s1.pan() + 1)*0.5 ));
ellipse((s1.pan() * width/2) + width/2, height/2, s1.amplitude() * circlesize , s1.amplitude() * circlesize);
fill ( lerpColor (color(255,190,10), color(130,190,180), (s2.pan() + 1)*0.5 ));
ellipse((s2.pan() * width/2) + width/2, height/2, s2.amplitude() * circlesize , s2.amplitude() * circlesize);
fill ( lerpColor (color(255,190,10), color(130,190,180), (s3.pan() + 1)*0.5 ));
ellipse((s3.pan() * width/2) + width/2, height/2, s3.amplitude() * circlesize , s3.amplitude() * circlesize);
if (s1.amplitude() < 0.3)
s1.setAmp( s1.amplitude() + 0.01);
if (s2.amplitude() < 0.3)
s2.setAmp( s2.amplitude() + 0.01);
if (s3.amplitude() < 0.3)
s3.setAmp( s3.amplitude() + 0.01);
s1.setPan( constrain(s1.pan() + random(-0.01,0.01) ,-1.0,1.0));
s2.setPan( constrain(s2.pan() + random(-0.01,0.01) ,-1.0,1.0));
s3.setPan( constrain(s3.pan() + random(-0.01,0.01) ,-1.0,1.0));
}
void mouseClicked(){
s1.setFreq(s1.frequency() + random(-10,10) );
s2.setFreq(s2.frequency() + random(-10,10) );
s3.setFreq(s3.frequency() + random(-10,10) );
saveFrame();
}
void stop()
{
out.close();
minim.stop();
super.stop();
}
View this code on GitHub
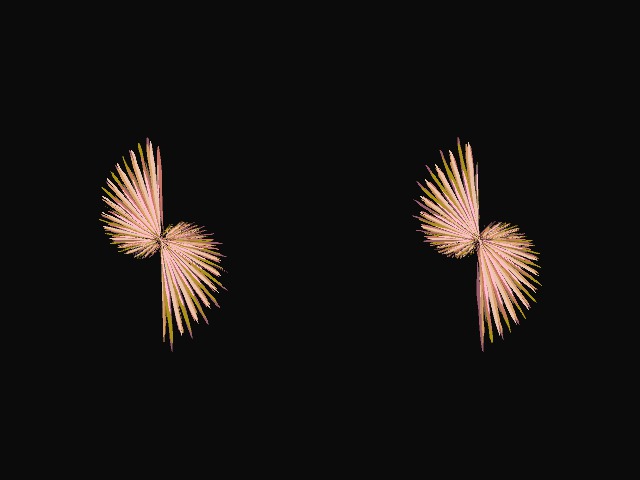
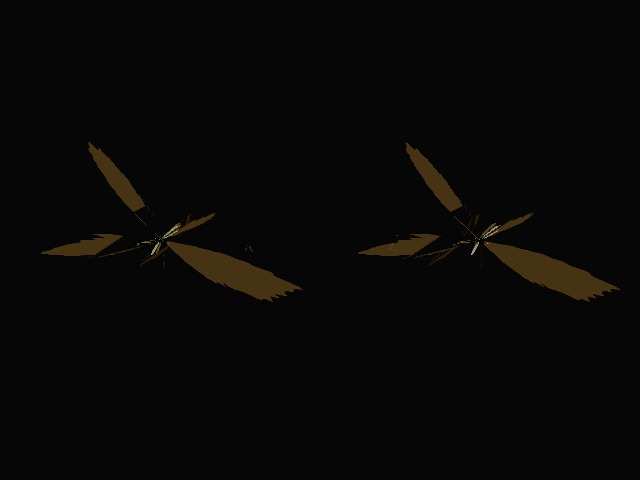
My first sketch is a simple Lissajous curve out of a live audio input. I borrowed some code from a Minim example and a sketch from OpenProcessing.org.
I used the RMS values from the audio buffer to determine the sound and location of each plot. These changes aren’t radical but they add some flavour. Enjoy!
import ddf.minim.*;
import processing.video.*;
Minim minim;
AudioInput input;
WaveformRenderer waveform;
MovieMaker mm;
void setup()
{
size(640, 480, P2D);
frameRate(24);
minim = new Minim(this);
input = minim.getLineIn(Minim.STEREO, 512);
waveform = new WaveformRenderer();
input.addListener(waveform);
mm = new MovieMaker(this, width, height, "mysketchoutput.mov", 24, MovieMaker.H263, MovieMaker.HIGH);
}
void draw()
{
fill(0,20);
noStroke();
rect(0,0,width,height);
waveform.draw();
mm.addFrame();
}
void stop()
{
input.close();
minim.stop();
super.stop();
mm.finish();
}
void captureEvent(Capture myCapture) {
myCapture.read();
}
class WaveformRenderer implements AudioListener
{
private float[] left;
private float[] right;
color a = color (38,148,200);
color b = color(200,148,38);
WaveformRenderer()
{
left = null;
right = null;
}
synchronized void samples(float[] samp)
{
left = samp;
}
synchronized void samples(float[] sampL, float[] sampR)
{
left = sampL;
right = sampR;
}
synchronized void draw()
{
if ( left != null && right != null )
{
noFill();
float rms = 0;
for (int i = 0 ; i < left.length; i++)
rms += left[i];
rms *= rms;
fill(lerpColor(a,b,rms*255));
beginShape();
for (int step=0;step<left.length;step++) {
float l = 5-step;
int x=(int) (left[step]*l*Math.sin(l*Math.PI/left.length));
int y=(int) (left[step]*l*Math.cos(l*Math.PI/left.length));
vertex ( width/4 + x + rms, height/2 + y);
}
endShape();
beginShape();
for (int step=0;step<right.length;step++) {
float l = 5-step;
int x=(int) (right[step]*l*Math.sin(l*Math.PI/right.length));
int y=(int) (right[step]*l*Math.cos(l*Math.PI/right.length));
vertex ( 0.75*width + x - rms, height/2 + y);
}
endShape();
}
}
}
View this code on GitHub
void mouseReleased(){
println(frameRate);
}
void keyPressed(){
if(key == ' ')
saveFrame();
if (key == 'f')
println(frameRate);
if(key == 's' & mm != null)
mm.finish();
}
View this code on GitHub
I enrolled for the O’Reilly class on Processing and Arduino and it starts in 30 minutes. I am hoping that it becomes useful. I do like controlP5 as a library for guis.
In the meantime I did a few utils. I have an easy save mechanism thanks to saveFrame() in Processing. I also have some sketch code for recording video. Surely this will change over the month but these are things that I thought would be important to start.
I think I may also start a template sketch so I can get straight to my idea. I’ll be sure to put it up if I get to it.
import processing.video.*;
MovieMaker mm;
void captureEvent(Capture myCapture) {
myCapture.read();
}
void mouseReleased(){
println(frameRate);
}
void keyPressed(){
if(key == ' ')
saveFrame();
if (key == 'f')
println(frameRate);
if(key == 's' & mm != null)
mm.finish();
}
View this code on GitHub
I just changed the way the url mechanism works and it looks like if you subscribe via RSS then all of the blog looks new to your reader. Sorry!
Finally I am going to be staying at home for some length of time. I have a few goals for the next few months to forward my practice. I need to improve my Processing.org skills and learn some new tricks to get my next project done. To that end I am committing to the Creative Pact 2010 in order to keep myself motivated.
Every day in September I will put up a new post about something creative I have done in Processing. I was thinking that every post would be audio + visuals but I think I am going to keep it manageable. I don’t know if I will have more than an hour a day to be creative since school starts soon. Weekends will likely have bigger projects, as I will have more time on those days.
I am hoping to learn some more about Minim, controlP5, GLGraphics and OpenGL in general as I create this stuff.
For all you Processing experts watching please comment and show me how to improve my code, coding, and inspiration for visuals. Even links to things would be super helpful.
I am going to build a few tools for the next few days so I can take some screenshots and videos easily to post for you all. I will put them here in case they are useful for you too.
I took a bunch of pictures and then pasted them together with
convert $(ls *JPG | sort -n -r) $(ls *JPG | sort -n) -layers OptimizePlus paper.gif
convert is a tool from the free ImageMagick package. The sort command organizes the files into numerical order (great for those file names that cameras tend to import). The -r flag reverses the set in the first sequences and then I remove it for the second sequence so it loops nicely. Again, you may have to click on the picture and let it load a second before you get a nicely looping image.


int count = 0;
import gifAnimation.*;
GifMaker gifExport;
void setup(){
gifExport = new GifMaker(this, "blackorwhite.gif");
gifExport.setRepeat(0);
frameRate(5);
noStroke();
}
void draw(){
background(0);
rect(((count-10)/10.0) * width,0, width, height);
gifExport.setDelay(5);
gifExport.addFrame();
if (count == 19){
gifExport.finish();
exit();
}
count = ++count % 20;
}
View this code on GitHub
This is an animated GIF. Click on it to watch the animation.
I am on a Residency with Jordan Tate in Banff to work on my visual competency and I am teaching Jordan about programming and digital media.
Jordan’s first assignment is to make 10 animated gifs in response to other work. Here is part one. This is called 4’33". I recently saw Rauschenberg’s "White Paintings" at SFMOMA and I was really taken. I love minimalism. I found out through some reading that Cage didn’t really go for the full 4’33" until he saw these. I like black so I made a black animated gif with various degrees of black. I did this because Cage discovered that you can’t ever experience silence, there is always some noise and jitter.

import gifAnimation.*;
GifMaker gifExport;
PImage mygif;
color[] c = new color [3];
int i = 0;
void setup(){
gifExport = new GifMaker(this, "export.gif");
gifExport.setRepeat(0);
c[0] = color(0);
c[1] = color(3);
c[2] = color(5);
}
void draw(){
background(c[i]);
gifExport.setDelay(1);
gifExport.addFrame();
if (i == 2){
gifExport.finish();
exit();
}
i = ++i % 3;
}
View this code on GitHub
← newer
::
older →


